

Hatching eggs is a very rewarding experience. This process requires planning, dedication, flexibility, and observational skills. Eggs have a 21-day incubation period using a specialized incubator under carefully monitored conditions.
How to hatch chicks using an incubator
1. Select the location of the egg incubator. To keep your hatch at a constant temperature, place it in a place with as little temperature fluctuations as possible. Do not place it near a window with direct sunlight. The sun can heat up incubators to kill developing embryos.
Connect to a power source, making sure that the plug does not come off accidentally.
Keep children, cats, dogs out of the incubator.
In general, hatching is best done in a place where you won't be knocked over or stepped on, where there needs to be little temperature fluctuations and no direct sunlight.
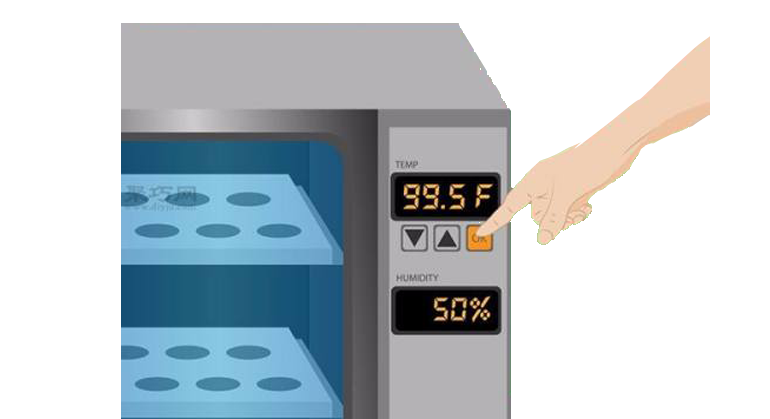
2. Proficient in operating the egg incubator. Before you start hatching eggs, be sure to read the incubator's instructions carefully. Make sure you know how to operate the fan, light and other function keys.
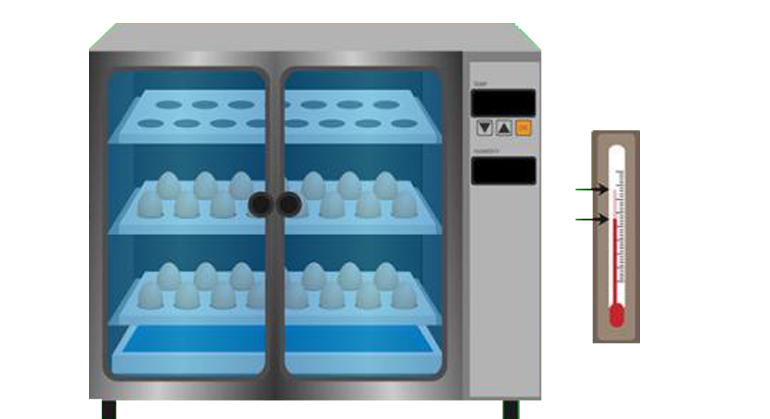
Check hatching with a thermometer. It should be checked frequently 24 hours before hatching to ensure the temperature is moderate.
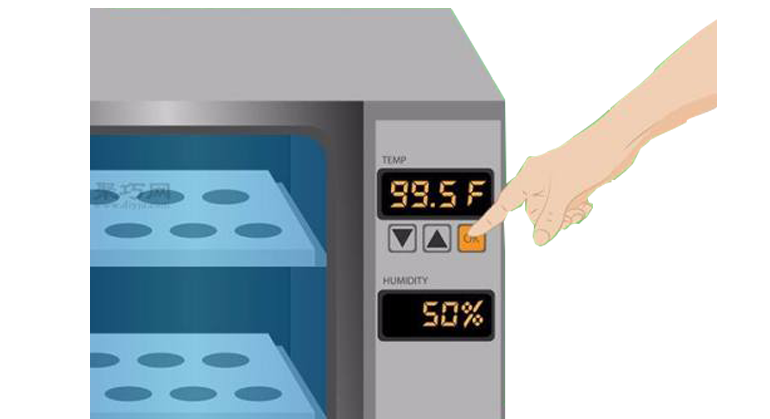
3. Adjust the parameters. For successful incubation, the parameters of the incubator must be checked. From preparing to hatch to receiving the eggs, you should adjust the parameters within the incubator to optimal levels.
Temperature: Egg incubation temperature is between 37.2-38.9°C (37.5°C is ideal). Avoid temperatures below 36.1°C or above 39.4°C. If the temperature exceeds the upper and lower limits for several days, the hatchability may be severely reduced.
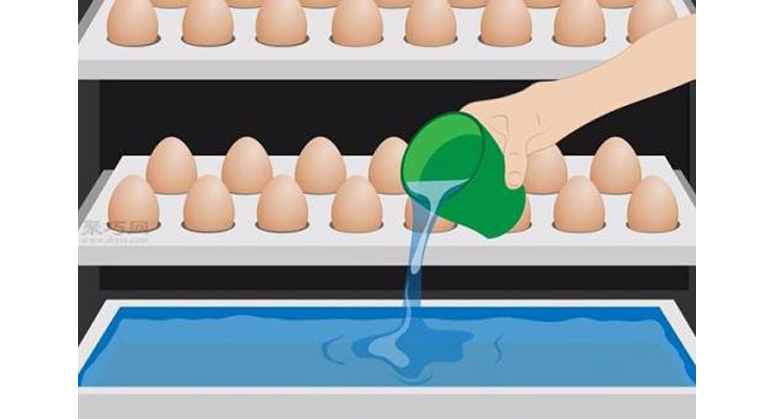
Humidity: The relative humidity in the incubator should be maintained at 50% to 65% (60% is ideal). Moisture is provided by a pot of water under the egg tray. Humidity can be measured using a spherical humidity thermometer or a hygrometer.
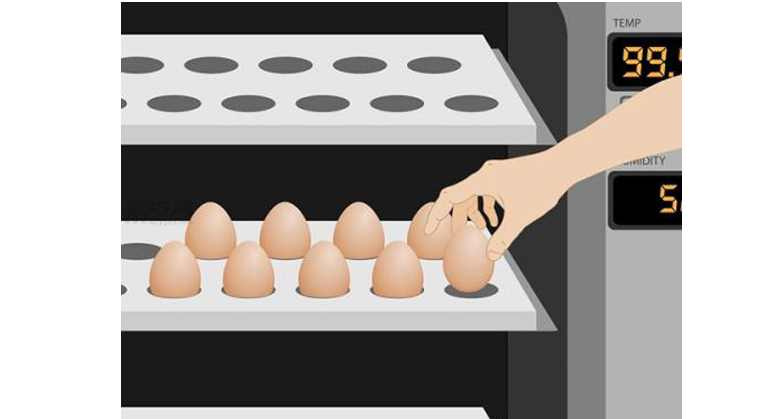
4. Put the eggs in to egg incubator. If the conditions inside the incubator have been set and monitored for at least 24 hours to be stable, the eggs are ready to go. Put at least 6 eggs at a time. If you only try to hatch two or three eggs, especially if they've been shipped, the result can be tragic, and there's a chance you won't get anything.
Heat eggs to room temperature. Heating the eggs will reduce the temperature fluctuations in the incubator after you add the eggs.
Carefully place the eggs into the incubator. Make sure the eggs are lying on the sides. The larger end of each egg should be slightly higher than the tip. Because if the cusps are high, the embryos may be misplaced and it may be difficult to break the shell when it is time to hatch.
5. Reduce the temperature after adding the eggs. The temperature of the eggs will drop temporarily after entering the incubator, if you have not calibrated the incubator, the parameters should be re-adjusted.
Do not use warming to compensate for temperature fluctuations, as this can damage or kill the embryos.
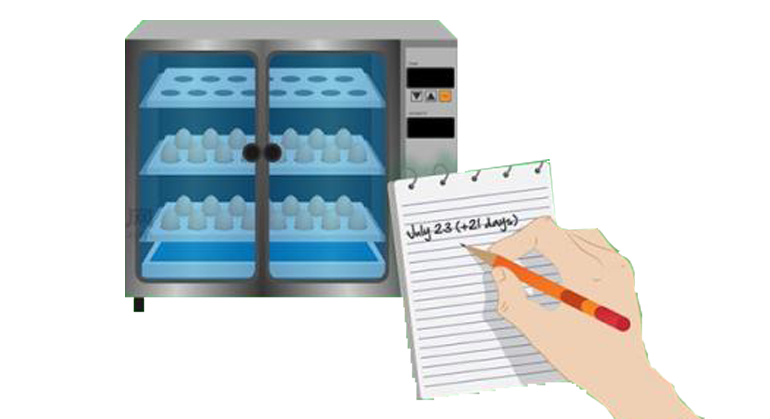
6. Record the date so that you can estimate the egg hatching date. Eggs take 21 days to incubate at optimal temperatures. Older eggs and eggs placed at low temperatures may delay hatching! If your eggs haven't hatched after 21 days, give them some more time, just in case!
7. Adjust the humidity level in the incubator. Humidity should be maintained at 50% to 60% throughout the incubation process. In the last 3 days, increase to 65%. The level of humidity depends on the breed of eggs. The hatchery can be consulted or the relevant literature can be consulted.
Refill the water tray regularly or the humidity will drop too low. Be sure to add warm water.
If you want to increase the humidity, you can add a sponge to the water pan.
Use a ball hygrometer to measure the humidity in the incubator. Record the readings, and record the temperature of the incubator. Find a humidity conversion table online or in a book and calculate the relative humidity from the relationship between humidity and temperature.
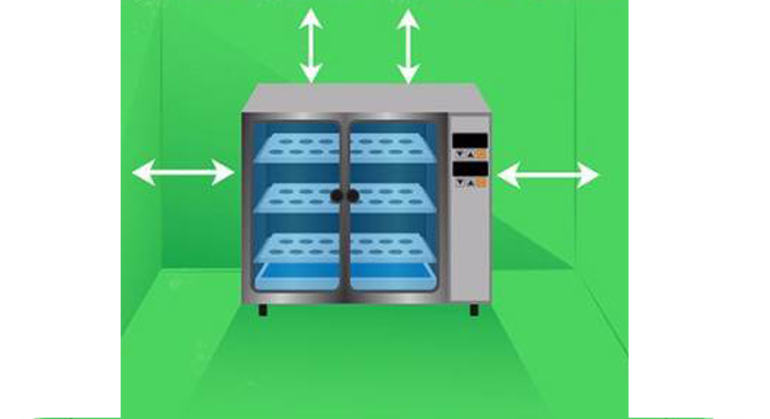
8. Ensure ventilation. There are openings on the sides and top of the incubator for air flow checks, make sure these openings are at least partially open. Ventilation needs to be increased as the chicks start to hatch.

9. After 7-10 days, candeling the eggs. Candeling an egg is the use of a light source to see how much space the embryo occupies inside the egg. After 7-10 days, you should see embryos developing. Optical inspection can easily find those eggs that are underdeveloped.
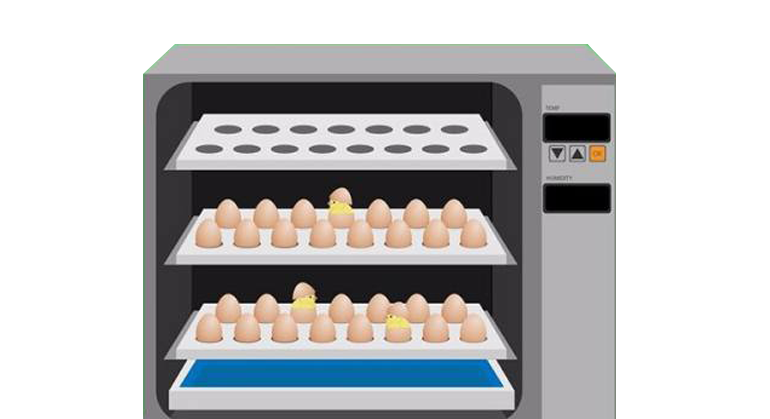
10. Prepare to hatch. Stop turning and rotating eggs 3 days before the expected hatch date. Most well-developed eggs hatch within 24 hours.
Put gauze under the egg tray before hatching. Gauze can collect egg shells and material produced during incubation.
Add more water and sponge to increase humidity in the incubator.
Turn off the incubator until incubation is over